Idols of Ash Controls & Grapple Mechanics
The grappling hook feels wrong for the first few minutes. That is normal. Once the two independent systems click in your head, everything changes.
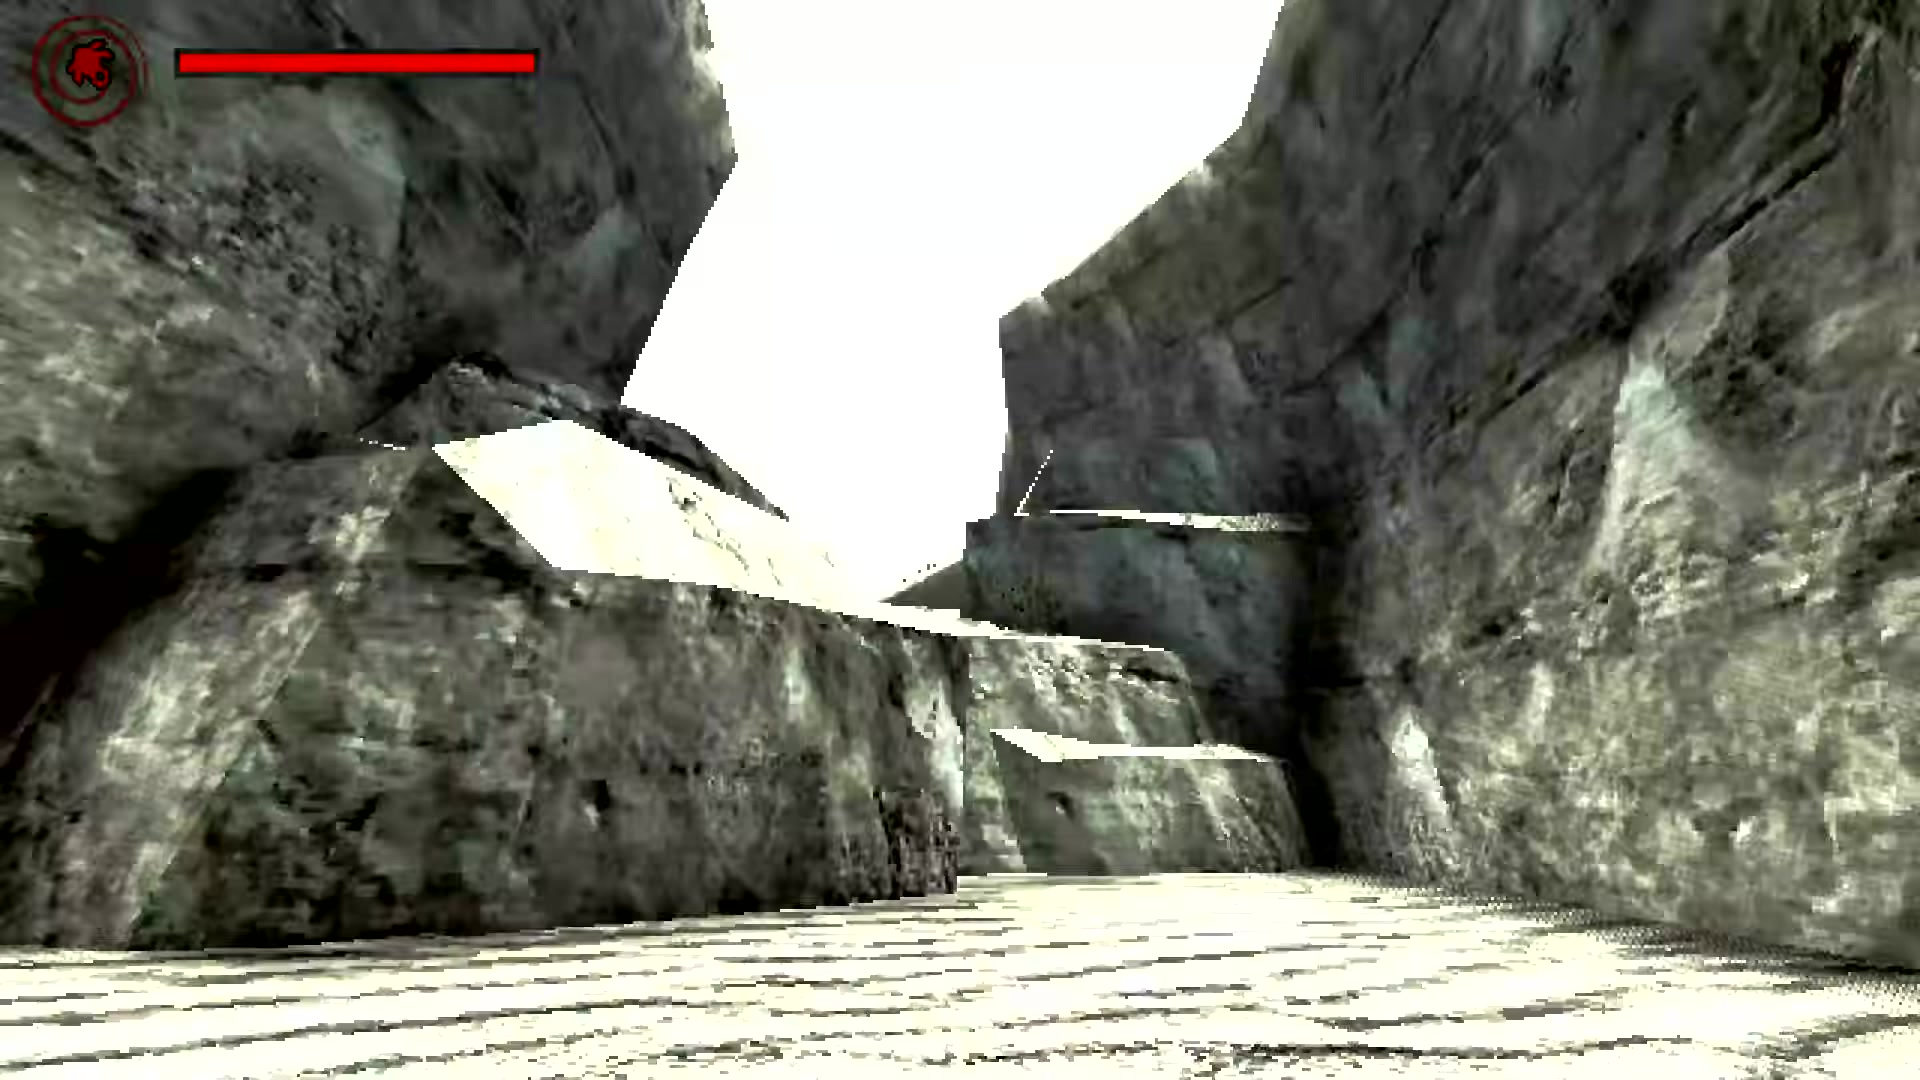
Your first grappling hook shot. Aim at plant growth or rocky outcroppings -- they are the most reliable anchor points in the upper section.
Full Control Scheme
Here is every input you need to know. There are no hidden controls or unlockable abilities -- this is the complete set from start to finish.
| Input | Action |
|---|---|
| W A S D | Move forward / left / back / right |
| Mouse | Look around and aim the grappling hook reticle |
| Left Click | Fire grappling hook -- hold to stay attached to the surface |
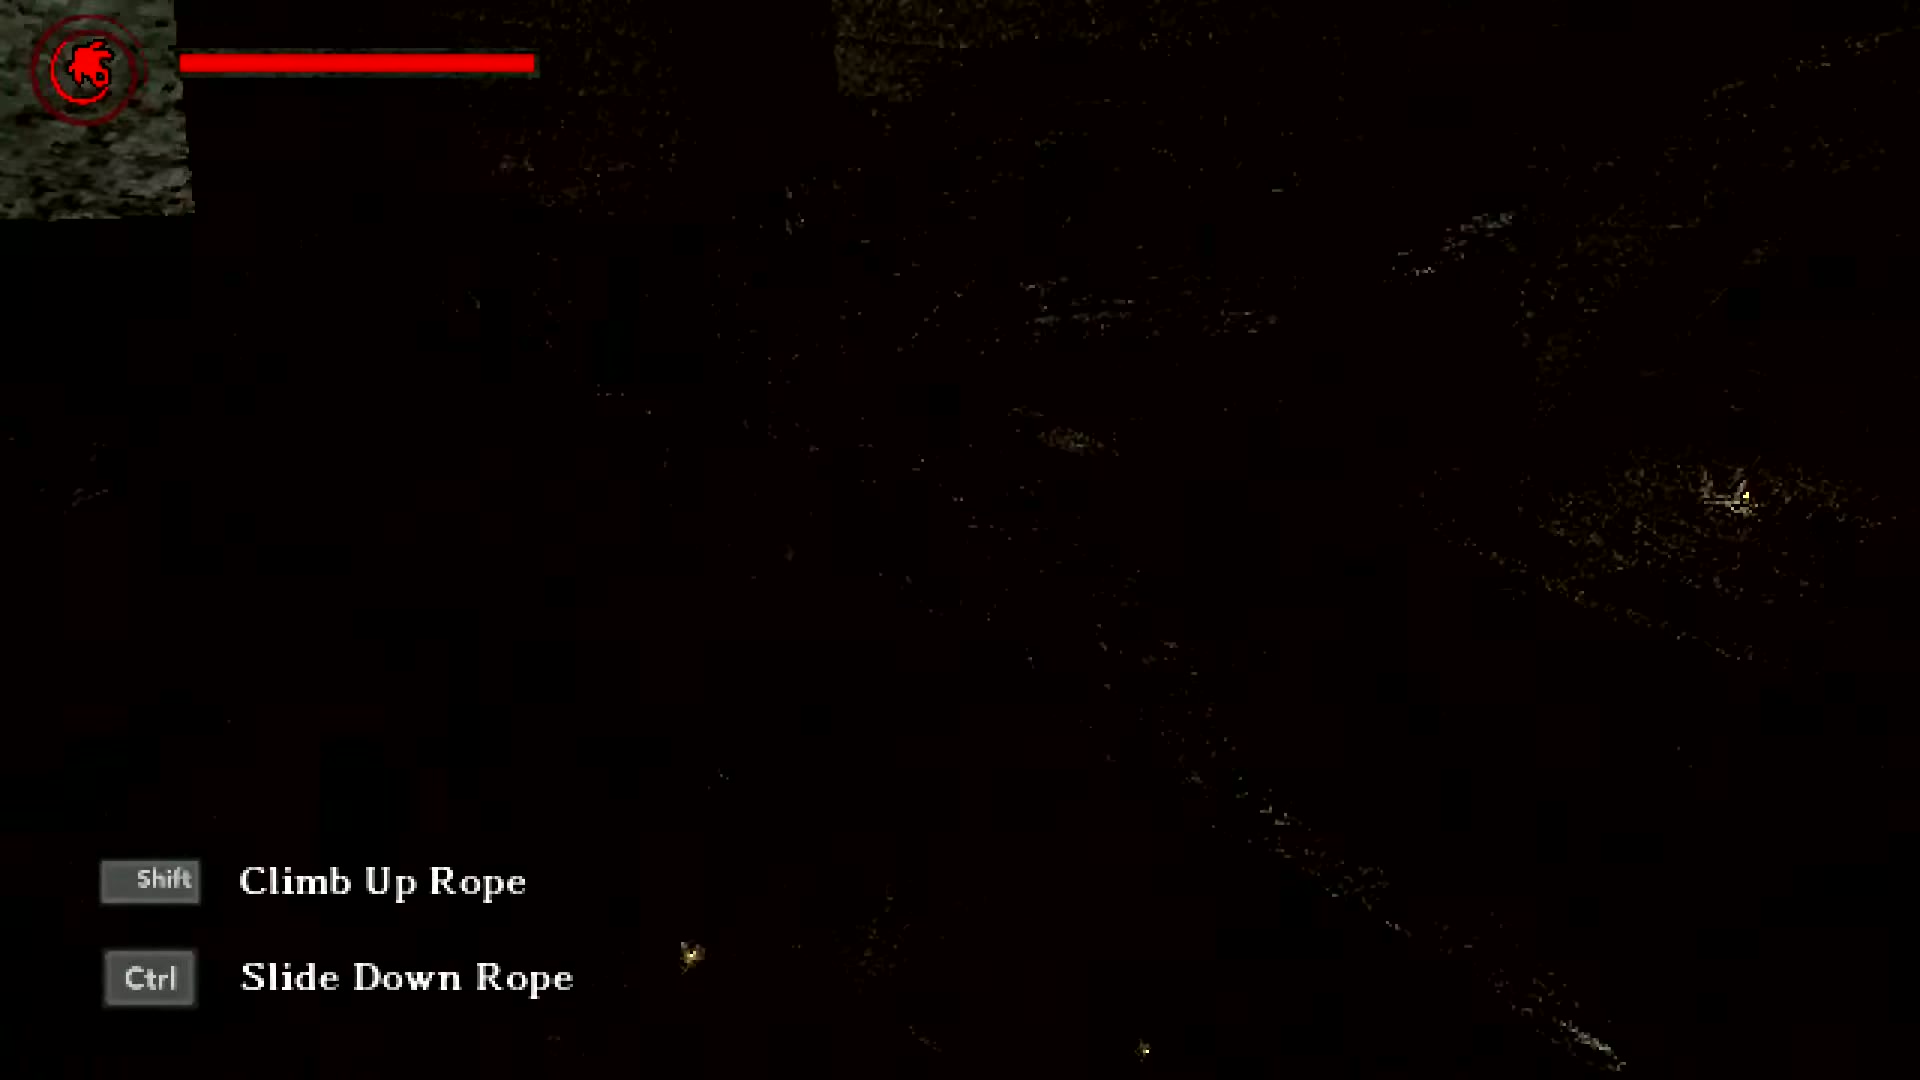
| Shift | Pull Rope Up -- reel yourself upward along the rope |
| Ctrl | Slide Down Rope -- extend rope and descend |
| Space | Jump (works on solid ground only) |
| Scroll Wheel | Zoom in/out for aiming at distant surfaces |
| Esc | Pause / Menu |
Two Independent Systems
The reason the controls feel strange at first is that the grappling hook is actually two separate systems layered on top of each other, and your brain needs a minute to stop treating them as one thing.
System 1: Aim and Fire. You point your mouse at a surface and left-click to fire the hook. Hold the button to stay attached. Release to detach. This part is straightforward -- it works like you would expect a grappling hook to work in any game.
System 2: Rope Management. Once you are attached, Shift pulls you up the rope (shortening it) and Ctrl lets you slide down (extending it). This is the part that trips people up. You are not just swinging -- you are actively controlling your distance from the anchor point while swinging. Think of it less like a Spider-Man web and more like an actual climbing rope where you decide how much slack to give.
These two systems are completely independent. You can be reeling yourself up with Shift while simultaneously swinging sideways with WASD. You can fire at a new point while still sliding down from a previous anchor. Once you internalize that separation, the movement system goes from feeling clunky to feeling precise.
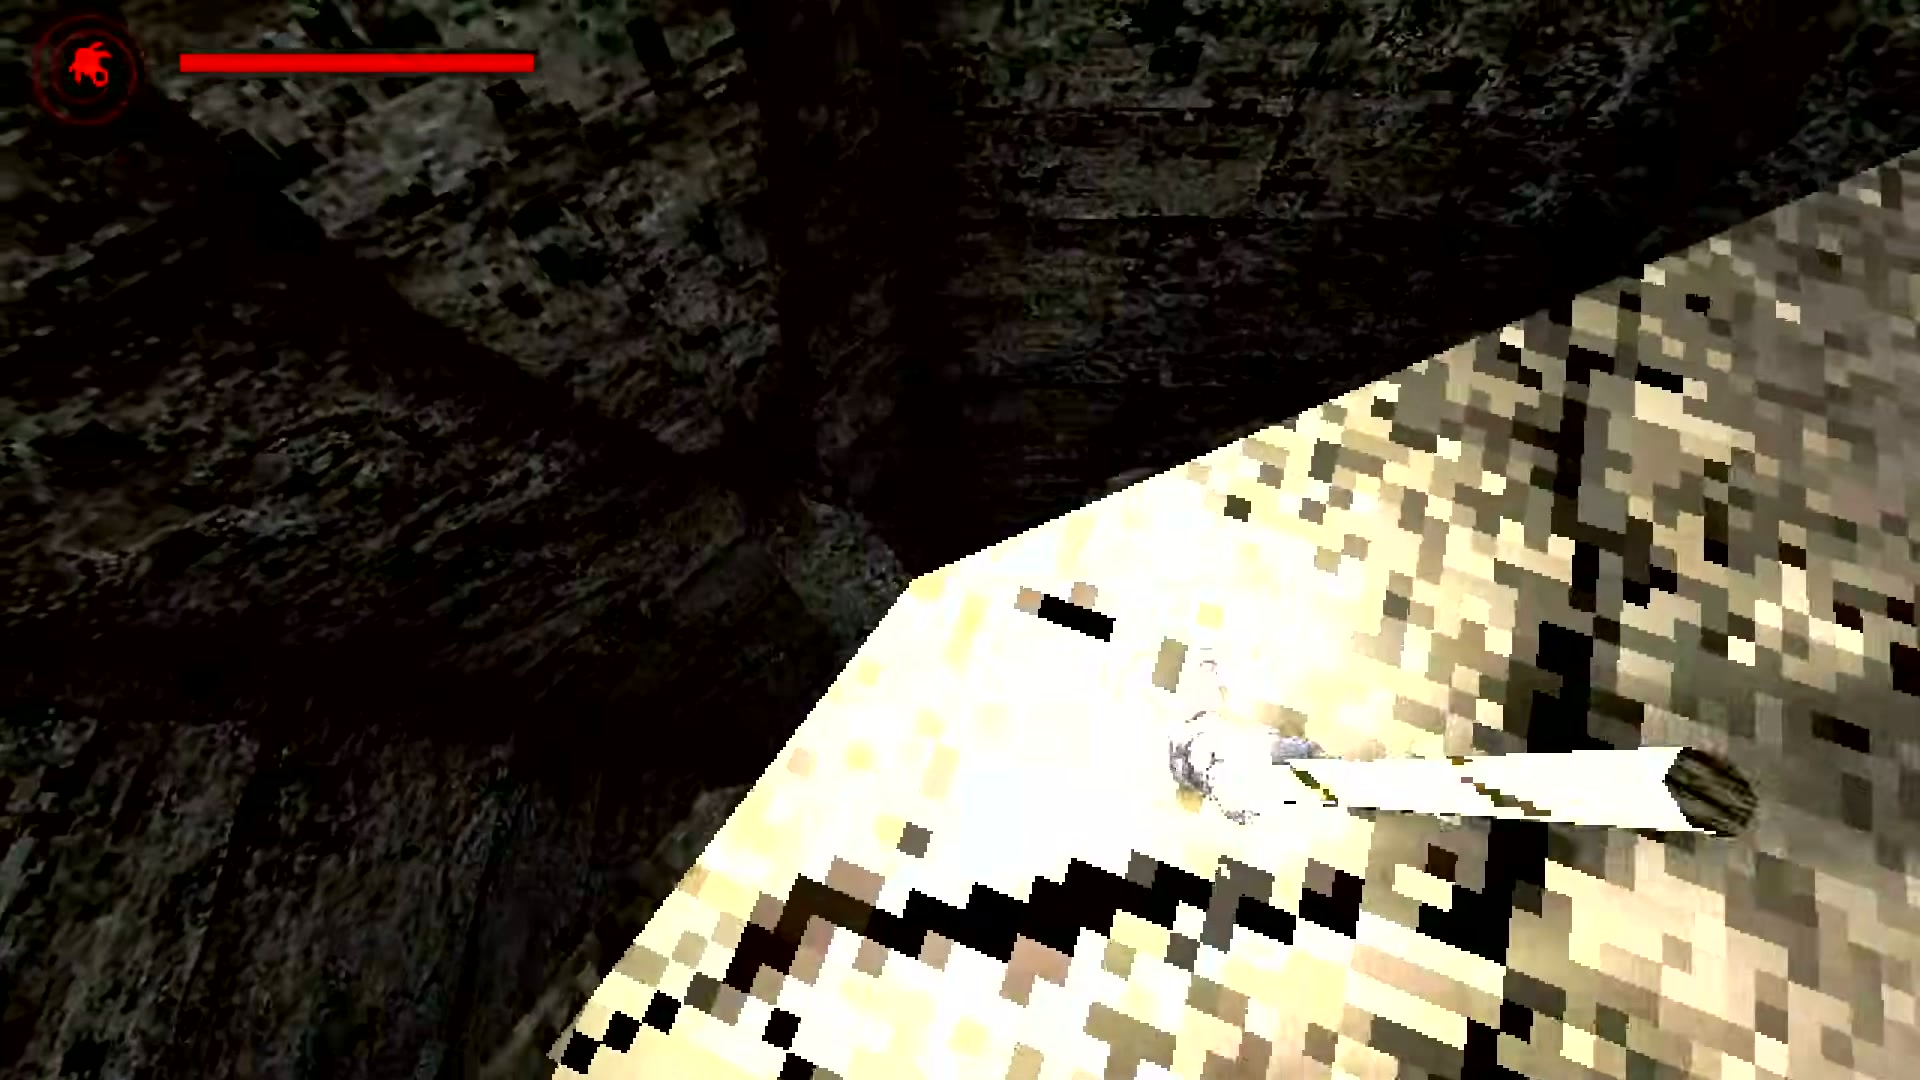
Mid-swing through a vertical shaft. Watch the rope distance indicator in the top-left -- you want to pull up (Shift) before you hit the bottom of the arc.
The Top-Left UI
Three pieces of information live in the top-left corner of your screen:
- Centipede icon -- a small icon representing the Murderpede. Its presence reminds you that the creature is always somewhere in the structure.
- Red health bar -- your current HP. Falls and Murderpede attacks drain it. Restore it at Latent Embers and Breathe in Ashes points.
- Rope distance indicator -- shows how far your grappling line is currently extended. This is the number you should be watching constantly. When it maxes out, you are at full extension and will start swinging in a fixed arc. Pull up with Shift to shorten the rope and gain height, or release and re-fire at a closer point.
Fall Recovery -- The Most Important Technique
When you are falling and about to die, fire the grappling hook at any surface and immediately hold Shift. This catches you on the rope and reels you upward, stopping the fall. It does not matter if the angle is bad or the anchor is far away. Catching yourself on anything beats hitting the ground. Practice this in the upper section where falls are short -- you will need it instinctively by the time you reach the deep sections.
Your character has some fall resistance -- short drops will not kill you. But longer falls absolutely will, and the deep sections of the megastructure have drops that go on for hundreds of meters. The fall recovery technique is not optional. It is the single skill that separates players who finish the game from players who quit in the mid section.
The key is reaction time. You need to fire and hold Shift before you build up too much downward velocity. If you wait until you are screaming toward the ground at full speed, even catching a rope might not stop you in time. Fire early, fire at anything.
The Murderpede can crawl on walls and ceilings. In narrow corridors, aim your grapple at the junction where walls meet the ceiling for the most reliable anchor points.
Narrow Passage Aiming
The upper sections give you wide caverns with obvious grapple points everywhere. That changes fast. In tight corridors, good anchor points are harder to spot and easier to miss.
The trick: aim for the junction where walls meet the ceiling. That corner where two surfaces intersect is almost always a valid grapple point, and it naturally pulls you upward and forward. Aiming at flat walls often results in the hook sliding off or attaching at an angle that swings you into a wall. The corner junction gives you a stable attachment and an upward pull angle.
Also, use the zoom (scroll wheel) in narrow passages. It is tempting to fire quickly when the Murderpede is nearby, but a zoomed-in shot at a specific corner beats a panicked shot at a flat wall every time. One second of aiming saves you from a bad swing that costs five seconds to recover from.
Early Practice Routine
The upper section of the megastructure is your training ground. Before you start worrying about the Murderpede or route planning, spend a few minutes doing this:
- Fire at a high point and hold Shift to pull yourself all the way up. Then hold Ctrl to slide all the way down. Feel how the rope length changes.
- While hanging, swing side to side with A and D. Notice how momentum builds. Release and re-fire mid-swing to chain swings together.
- Drop from a ledge on purpose, then practice the fall recovery: fire at any surface and hold Shift immediately. Do this three or four times until it feels automatic.
- Find a narrow corridor and practice aiming at ceiling-wall junctions while moving forward.
Five minutes of deliberate practice here will save you twenty minutes of frustration later. The controls are not hard -- they are just unfamiliar. Your muscle memory will build fast.